


![Rectangular Brass Ceiling Shower Arm with Chrome Finish, Projection 300mm [42016]](http://tapron.co.uk/cdn/shop/products/42016_1_1170x.jpg?v=1544115751)


How to Change a Shower Arm – What You Need to Know

Table Of Contents:
-
Introduction
-
Tools and Materials You’ll Need
-
Choose Your New Shower Arm
-
Turn Off the Water Supply
-
Remove the Old Shower Arm
-
Prepare the New Shower Arm
-
Install the New Shower Arm
-
Attach the Flange
-
Install the Showerhead
-
Test Your Installation
-
Conclusion
Introduction
Refreshing your shower's look or improving its functionality often starts with the simplest changes, like replacing the shower arm.
Whether you're aiming for a new style, need a longer arm for better water reach, or simply replacing a worn-out part, changing a shower arm is a straightforward DIY task that can make a big difference in your bathroom.
At Tapron UK, we offer a wide selection of wall and ceiling shower arms that cater to various styles and needs. Here’s a step-by-step guide on how to change your shower arm, ensuring a smooth update to your shower setup.
Tools and Materials You’ll Need:
- Adjustable wrench or pipe wrench
- Teflon tape (plumber's tape)
- New shower arm and flange (from Tapron UK’s collection)
- Rag or towel
- Optional: Plumber's putty or silicone sealant
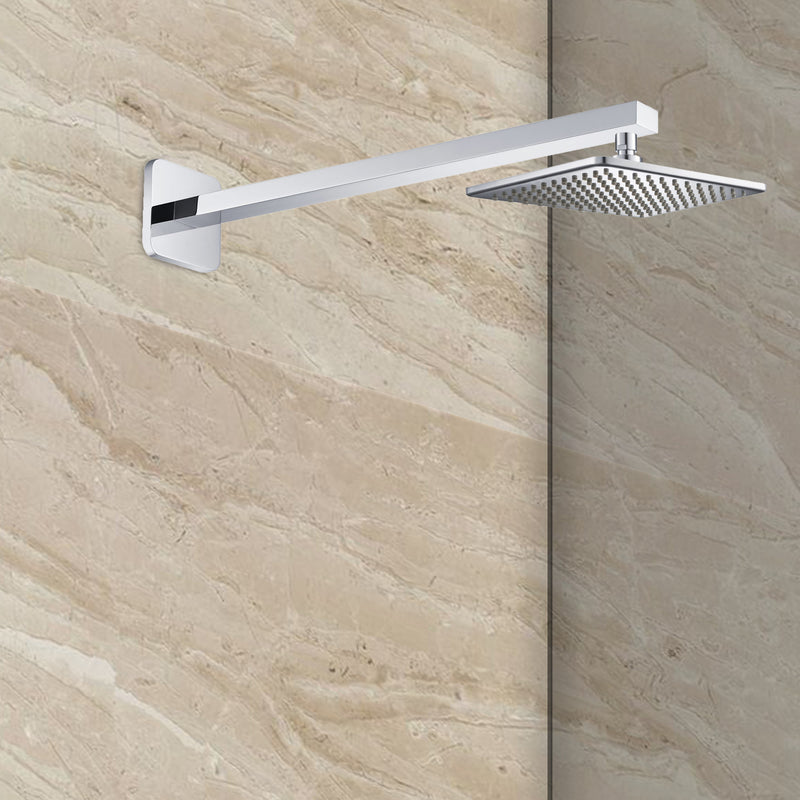
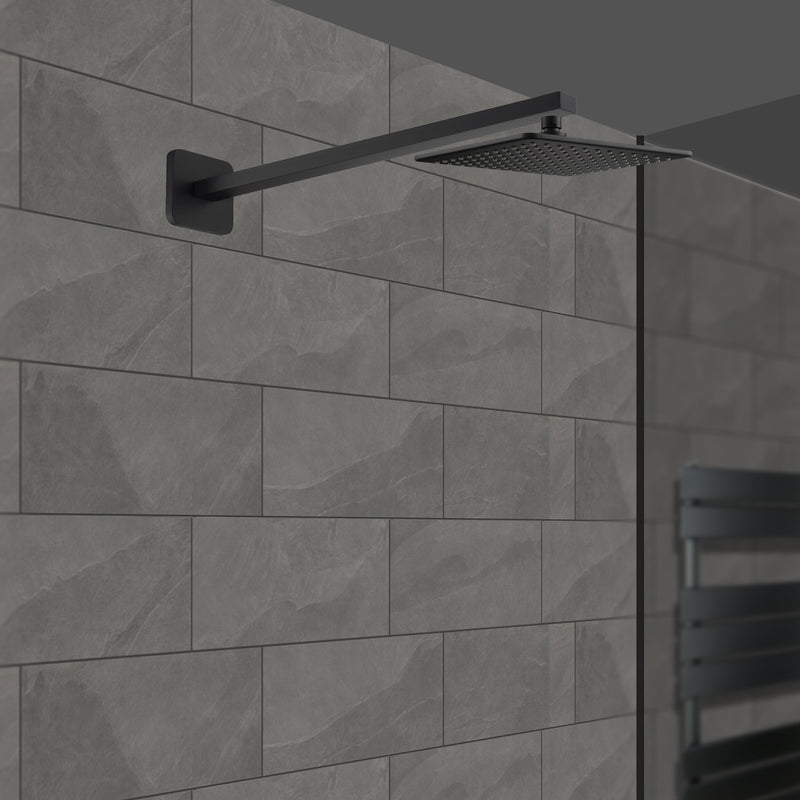
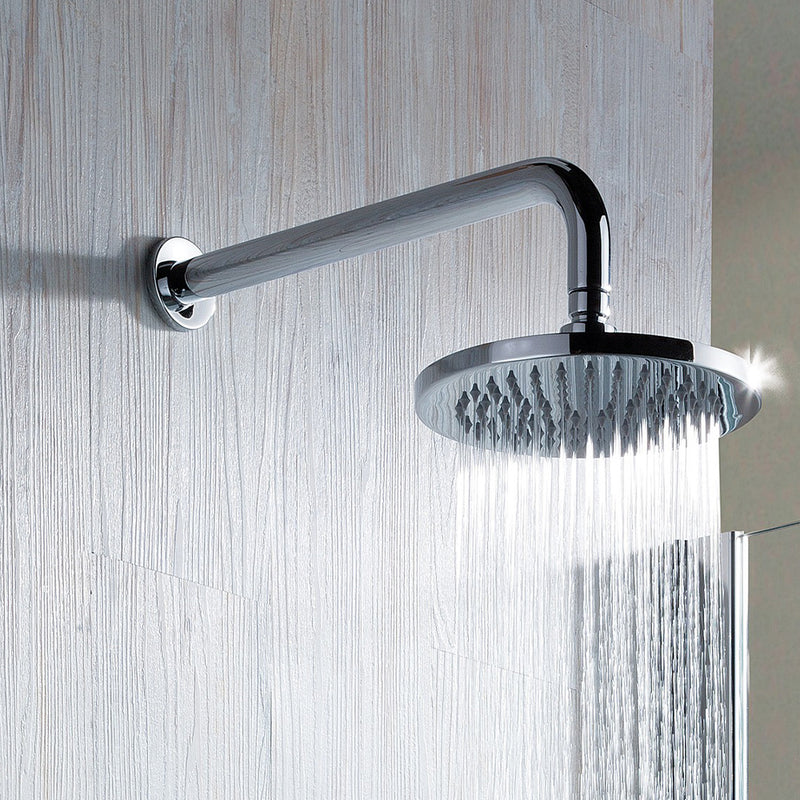
Step 1: Choose Your New Shower Arm
Before starting the replacement process, select a new shower arm that fits your shower's style and functional requirements. Consider the arm length, angle, and finish. Tapron UK’s collection offers various options, ensuring you find the perfect match for your bathroom aesthetic.
Step 2: Turn Off the Water Supply
Although changing a shower arm typically doesn't require turning off the main water supply, it's a good precaution to prevent any accidental water flow while working.
Step 3: Remove the Old Shower Arm
Wrap a rag around the old shower arm to protect its finish and grip it with an adjustable wrench. Turn it counterclockwise to unscrew. If it’s tight, apply steady pressure until it loosens. Once removed, clean any residue from the threads inside the wall pipe.
Step 4: Prepare the New Shower Arm
Take your new shower arm and wrap Teflon tape around its threads in a clockwise direction. This helps create a water-tight seal and makes future removal easier. Typically, wrapping it around 4-6 times is sufficient.
Step 5: Install the New Shower Arm
Carefully screw the new shower arm into the wall pipe by hand at first to avoid cross-threading. Once it’s hand-tight, use the wrench for the final turns. Be sure not to over-tighten, as this can damage the threads. Aim to align the shower arm in the desired direction.
Step 6: Attach the Flange
Slide the flange (the decorative cover) over the shower arm to conceal the wall hole. If your flange is loose, you can use a small amount of plumber's putty or silicone sealant on the backside to secure it against the wall.
Step 7: Install the Showerhead
Finally, screw your showerhead onto the new arm. Hand-tightening should be enough, but you can gently use the wrench for a snug fit. Remember to protect the finish with a rag.
Step 8: Test Your Installation
Turn the water supply back on and run the shower to test for any leaks. Ensure the showerhead is stable and the water flow is directed correctly.
Conclusion
Changing a shower arm is a simple yet effective way to upgrade your shower’s look and functionality. With Tapron UK’s selection of shower arms, you can easily find the perfect option to complement your bathroom design. Follow these steps for a hassle-free installation, and enjoy a refreshed shower experience that suits your style and needs.