Skip to content

We Ship Worldwide

Tapron

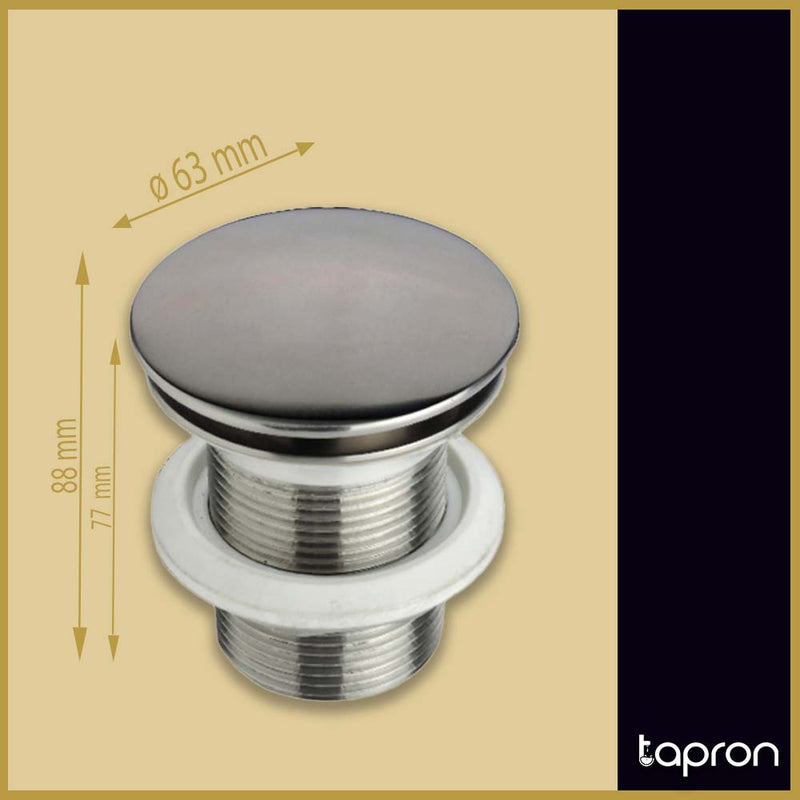
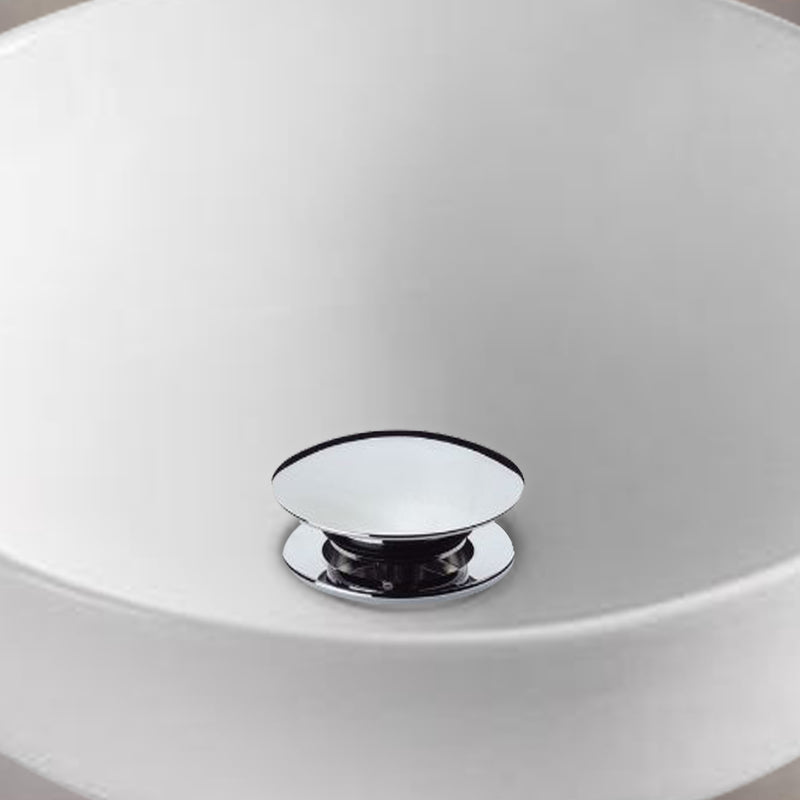
How to Fit a Bathroom Sink Waste Plug: A Comprehensive Guide

by E Cavendish 15 Mar 2024 0 Comments
How to Fit a Bathroom Sink Waste Plug A Comprehensive Guide

Table Of Contents:

Introduction

Fitting a bathroom sink waste plug is a straightforward yet essential task that ensures the functionality and hygiene of your bathroom sink.

Whether you're updating an old plug or installing a new one, the correct fitting of a waste plug prevents leaks and maintains the cleanliness of your bathroom.

This guide provides step-by-step instructions and valuable insights to help you fit a bathroom sink waste plug efficiently.

Understanding the Bathroom Sink Waste Plug

A bathroom sink waste plug is crucial for controlling water flow and maintaining the sink's cleanliness. It acts as a barrier, preventing debris from clogging the pipes while allowing water to drain smoothly.

Types of Bathroom Sink Waste Plugs

There are various waste plug designs, including pop-up, click-clack, and traditional rubber stoppers. Each type offers unique functionalities suited to different preferences and sink designs.

Tools and Materials You'll Need

Ensure you have the right tools and materials before starting:

  • Adjustable wrench
  • Plumber's tape
  • Clean cloth
  • New waste plug

Having these items on hand streamlines the installation process.

Step 1: Selecting the Right Waste Plug

Choosing the correct waste plug is crucial for both functionality and design harmony in your bathroom. Waste plugs come in various materials such as chrome, brass, or matte finishes, each offering a different aesthetic appeal.

Ensure the plug's size matches your sink's drain hole — standard sizes typically range from 1 1/4 inches for bathroom sinks. For a cohesive look, match the plug's finish with other fixtures in your bathroom, such as taps and showerheads.

Step 2: Disassembling the Old Waste Plug

When replacing an existing waste plug, start by removing the old unit. This usually involves working beneath the sink. Use an adjustable wrench to loosen the retaining nut that secures the plug to the drain.

Be prepared for water residue and debris; placing a bucket underneath can help catch any drips. Inspecting the old plug and assembly can also provide insights into any wear and tear or buildup issues, guiding future maintenance.

Step 3: Preparing Your Sink

A clean and debris-free drain opening is essential for a secure and leak-free installation. Use a mild cleaning solution and a soft brush or cloth to thoroughly clean around the drain opening, removing any grime, soap scum, or old sealing materials like plumber's tape.

Ensuring a clean surface not only aids in a better seal but also prevents future clogs and ensures the new plug operates smoothly.

Step 4: Installing the New Waste Plug

  • Positioning: Carefully place the new waste plug into the drain opening, ensuring it's centered and sits flush against the sink's bottom.
  • Sealing: Wrap plumber's tape clockwise around the plug’s thread to create a watertight seal. This step is crucial to prevent leaks.
  • Securing: Gently screw the plug into the drain by hand to avoid cross-threading. Once it's hand-tight, use an adjustable wrench to tighten it further, but be cautious not to overtighten as this could damage the plug or sink.

Step 5: Reassembling and Checking for Leaks

If your new waste plug features a pop-up mechanism, ensure all components are correctly assembled according to the manufacturer's instructions.

Testing the installation for leaks is crucial; fill the sink with water, then release it while checking both above and below the sink for any sign of leakage. Minor adjustments can be made to tighten the setup, but persistent leaks may require reevaluating the seal or consulting a professional.

Maintenance and Care Tips

To maintain your sink waste plug:

  • Regularly clean the plug to prevent buildup.
  • Lubricate moving parts in pop-up mechanisms for smooth operation.
  • Use eco-friendly cleaning agents to protect the plug's material.

Frequently Asked Questions (FAQs)

  1. How often should I clean my bathroom sink waste plug? Monthly cleaning is recommended to prevent buildup and odors.
  2. Can I use any waste plug for my sink? Compatibility with your sink's size and style is essential for proper function.
  3. What should I do if I encounter a persistent leak? Double-check the tightness and seal. Persistent issues may require replacing the seal or consulting a professional.
  4. Are there eco-friendly waste plug options? Yes, sustainable materials and designs are available, focusing on longevity and minimal environmental impact.

Conclusion

Fitting a bathroom sink waste plug is a key maintenance task that enhances your bathroom's functionality and aesthetics. By carefully selecting the right plug, ensuring a clean installation surface, and performing regular maintenance, you can achieve a leak-free and efficient bathroom sink. This guide is designed to empower you with the knowledge and confidence to fit a bathroom sink waste plug, contributing to a well-maintained and hygienic bathroom environment.

Prev Post
Next Post

Leave a comment

All blog comments are checked prior to publishing

Thanks for subscribing!

This email has been registered!

Shop the look

Choose Options

Edit Option
Back in stock notification.
is added to your shopping Basket.
this is just a warning
Login
Shopping Cart
0 items