


How to install a shower tray ( Clear Step BY Step BY Step Guide)

Table Of Contents:
-
Introduction
-
How to Fit a Shower Tray
-
How to Install a Height Adjustable Shower Tray
-
How to Install a Low-Profile Shower Tray
-
Common Challenges and Troubleshooting
-
Expert Tips for a Successful Installation
-
FAQ Section
-
Conclusion
Introduction:
Proper installation of a shower tray is crucial for a leak-free and functional bathroom. In this guide on how to install a shower tray, we'll provide detailed steps and insights to help you successfully set up your shower tray, ensuring a robust foundation for your shower area.
How to Fit a Shower Tray
Tools and Materials
Before diving into the installation process, it's crucial to gather all the necessary tools and materials. Here's a list of essential tools you'll need for a successful installation:
Choosing the Right Shower Tray
One of the first decisions you'll need to make is selecting the right shower tray for your bathroom.
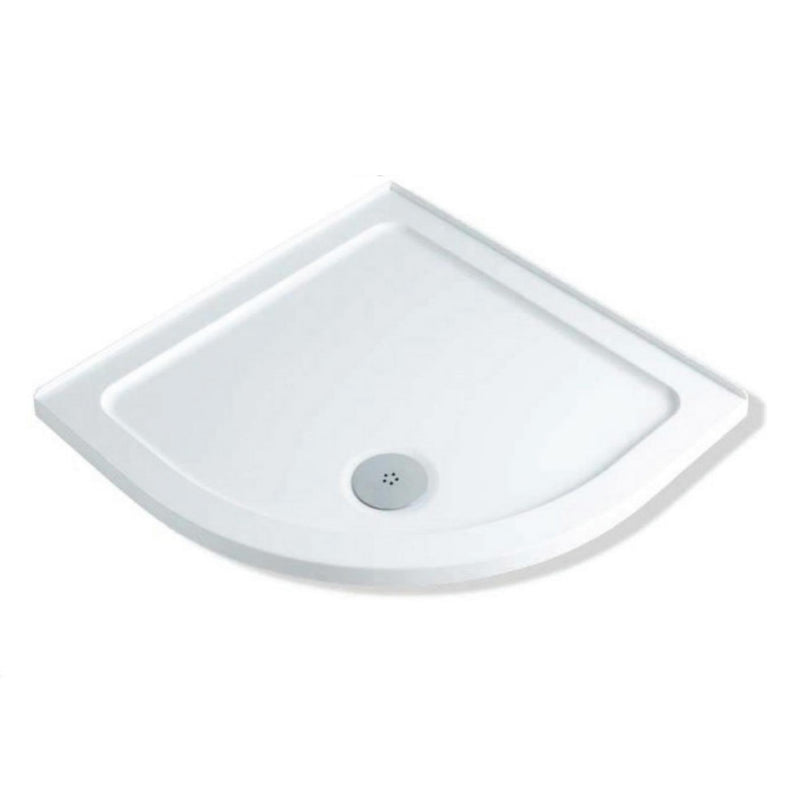
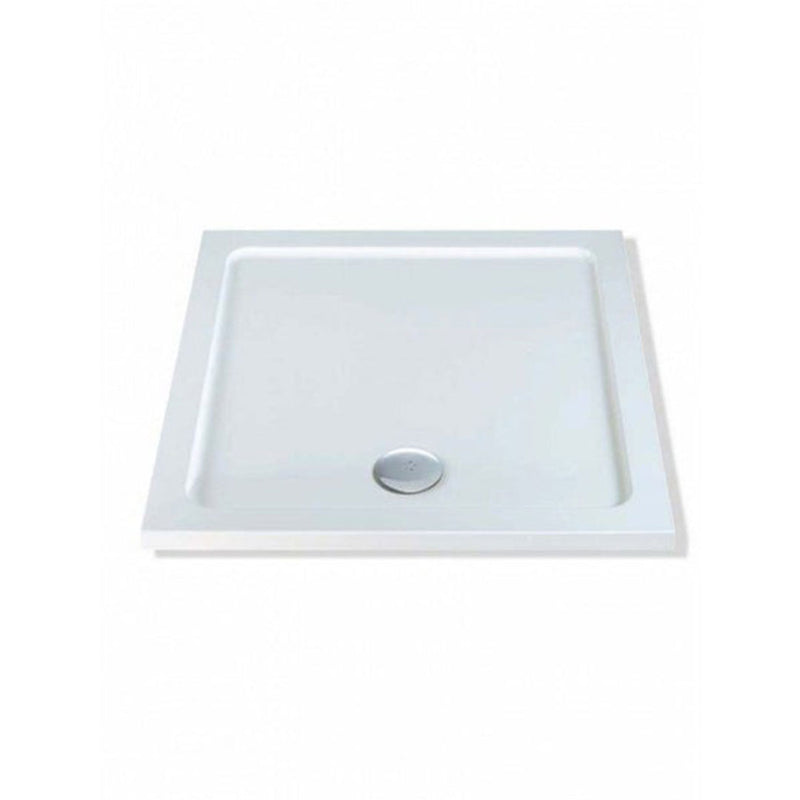
Types of Shower Trays
- Height Adjustable Tray
- Low Profile Tray
Understanding their differences and finding the perfect fit for your bathroom is crucial.
Preparing the Installation Area
Before installation, it's vital to prepare the installation area properly. Start by thoroughly cleaning and clearing the space. Ensure the surface is sturdy and level, providing a stable foundation for your shower tray.
How to Install a Height Adjustable Shower Tray
- Alongside each step of the installation process OF Adjustable and Low-Profile Shower Trays
- Step-by-step images or illustrations demonstrating each stage of the installation process, like positioning the tray, connecting the waste, leveling, sealing, and applying mortar.
Now let's dive into the installation process for a height adjustable shower tray.
Step 1 - Positioning the Tray
Begin by placing the tray in your desired location, ensuring it fits without clearance issues. Secure the legs into position and adjust the height to your preference. Confirm that the waste aligns perfectly.
Step 2 - Connecting the Waste
If you're satisfied with the fit, establish a suitable route for the waste pipe if it's not in place. Connect the waste to the tray and attach it to the trap.
Step 3 - Ensuring Proper Leveling
Use a spirit level to ensure the tray is perfectly level from all angles. Leveling is critical to prevent future issues.
Step 4 - Attaching the Waste and Outlet Pipe
With the tray leveled, connect the waste to the outlet pipe underneath. Ensure a secure fit with no gaps.
Step 5 - Fitting Side Panels
Complete the look by attaching the shower tray side panels. These are typically easy to install, following the product instructions.
Step 6 - Sealing Gaps
Seal the tray edges and gaps between the walls with high-quality silicone sealant to prevent leaks.
How to Install a Low-Profile Shower Tray
For those opting for a low-profile shower tray, follow these steps:
Step 1 - Marking the Outline
Outline the shower tray's position on the floor. This provides precise measurements for placement.
Step 2 - Creating a Hole for the Waste
If necessary, cut a hole in the floor using a jigsaw for the waste to fit securely.
Step 3 - Installing the Waste and Trap
Install the waste and trap according to the manufacturer's instructions to ensure proper leveling.
Step 4 - Applying Sealant
Apply sealant around the waste and trap to make them watertight.
Step 5 - Creating a Mortar
As low-profile trays lack space for pipework underneath, create space by removing floorboards. Mix sand and cement to create mortar and spread it under the tray.
Step 6 - Fitting the Shower Tray
Place the shower tray on the mortar, aligning it with the waste. Use shims for leveling, checking from all sides. Allow it to dry for 24 hours.
Step 7 - Securing the Shower Tray
Secure the shower tray to the floor using screws and rawl plugs, ensuring stability.
Step 8 - Applying Silicone Sealant
Apply silicone sealant to seal any gaps between the shower tray and the wall, preventing potential leaks.
Step 9 - Final Finishing
After the sealant dries, finish the area by tiling or installing a shower panel.
Common Challenges and Troubleshooting
While shower tray installation is manageable, you may encounter common challenges. Here are some troubleshooting tips to address potential issues:
-
Leaks or loose connections: Recheck all connections and seals.
-
Uneven leveling: Adjust the tray's height or position as needed.
-
Waste pipe alignment: Ensure the waste pipe aligns correctly with the trap.
-
Sealant issues: Apply a new layer of silicone sealant if needed.
Expert Tips for a Successful Installation
-
Read the manufacturer's instructions carefully.
-
Seek professional help if you're unsure about your DIY skills.
-
Regularly maintain your shower tray to extend its lifespan.
FAQ Section:
1.Can you fit a shower tray yourself?
Yes, you can fit a shower tray yourself, especially if you have some DIY experience and the necessary tools.
It's essential to follow the manufacturer's instructions and safety guidelines carefully.
However, if you're unsure or uncomfortable with the process, it's advisable to seek professional assistance to ensure a leak-free installation.
2.Do I have to cement under a shower tray?
Whether you need to use cement under a shower tray depends on the type of shower tray you're installing.
For low-profile shower trays that sit directly on the floor, you typically do not use cement.
Instead, you create a mortar bed using a mixture of sand and cement to support the tray.
However, for adjustable-height shower trays with legs, cement is not required, as they are adjustable and self-supporting.
3.What do you stick a shower tray down with?
Shower trays are typically secured in place with a strong adhesive or sealant, such as a high-quality silicone sealant.
This adhesive creates a watertight bond between the tray and the floor, preventing any potential leaks.
It's crucial to ensure proper sealing to maintain the integrity of the installation.
4.Do you tile directly onto a shower tray?
In most cases, you do not tile directly onto a shower tray. Instead, you typically install tiles on the walls surrounding the shower area and up to the edge of the shower tray.
The shower tray itself is designed to be a waterproof surface, so additional tiling is not required on its surface.
Proper sealing with silicone sealant around the edges of the tray is essential to prevent water from seeping underneath.
Remember that the specific installation instructions may vary depending on the type and brand of shower tray you choose.
Always refer to the manufacturer's guidelines for your particular shower tray model to ensure a successful and leak-free installation.
Conclusion
How to install a shower tray may initially seem challenging, but with careful preparation and the right tools, it's a manageable DIY project.
Whether you opt for an adjustable-height or low-profile tray, following these steps and adhering to the manufacturer's guidelines is key.
Take your time, ensure all connections are secure and watertight, and you'll be rewarded with a functional, leak-free shower area that enhances your bathroom's functionality and aesthetics.