


Table of Content:
-
Introduction
-
Modern Bath Taps Collection
-
The fast-clean kit that makes speed possible
-
The 12–20 minute professional sequence
-
DIY tips that make every clean faster
-
The most common mistakes that slow people down
-
A 2-minute daily reset that prevents big weekly cleans
-
Conclusion
Introduction :
Fast bathroom cleaning is not about working harder. It is about sequencing, using the right products for the right soils, and choosing methods that reduce repeat scrubbing. In professional maintenance, the goal is to remove the film that holds dirt in place: limescale, soap scum, body oils, toothpaste residue, and airborne dust that settles on damp surfaces. Once that film is broken down, wiping and rinsing becomes quick. The other secret is prevention by design: the finishes you choose, the way you ventilate, and the tools you keep under the sink determine whether a weekly clean takes 15 minutes or an hour. This guide gives you a trade-grade routine for a fast clean, plus DIY tips that cut the work in half long-term.


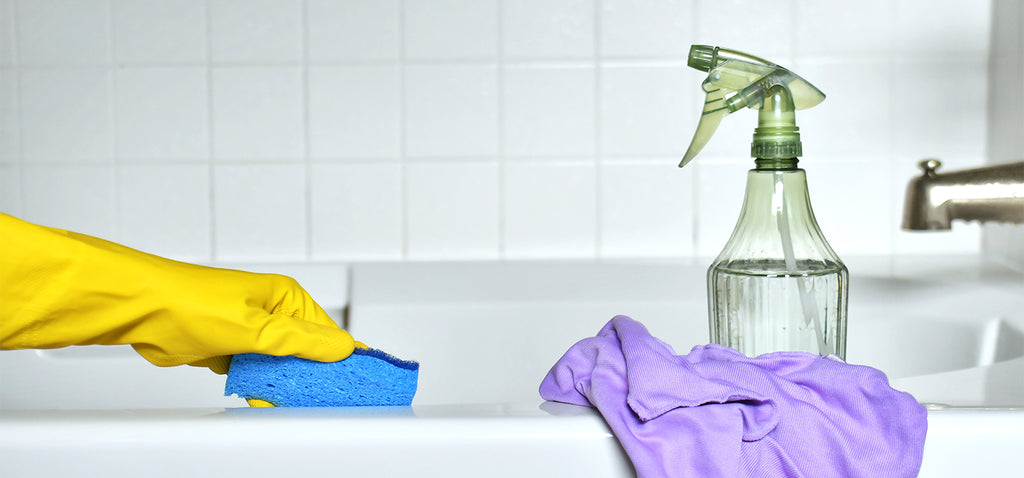
The fast-clean kit that makes speed possible
You cannot clean quickly if you are hunting for tools. Professionals standardise their kit.
-
A microfibre cloth set, because microfibre lifts grease and dust without needing heavy chemicals and reduces streaking on mirrors and chrome.
-
A non-scratch sponge or soft pad, because most bathroom surfaces mark from abrasion, not from the right cleaner.
-
A small detailing brush, because grout lines, tap bases, and silicone edges trap film that cloths glide over.
-
A squeegee, because removing water from glass and tile is the fastest way to stop limescale and soap scum forming.
-
A mild all-purpose cleaner and a dedicated limescale remover, because soap scum is oily and limescale is mineral-based, and they respond to different chemistry.
-
A disinfectant that is safe for bathroom surfaces, because hygiene is about targeted contact on touch points, not flooding the room with harsh chemicals.
Buyer insight: choose cleaners that match your finishes. Matte coatings and speciality metal finishes often demand gentler products. Harsh acids and abrasive powders can do permanent cosmetic damage even when they remove grime.
The 12–20 minute professional sequence
This workflow is designed to minimise time and maximise dwell time. You clean while products work.
Step 1: Ventilate and clear surfaces (1–2 minutes)
-
Open the window or switch on extraction. Lower humidity helps cleaners work and reduces streaking.
-
Remove bottles, mats, and loose items from the shower, bath, and basin edge. Clutter slows you down more than grime.
Step 2: Apply product and let it dwell (2 minutes)
Dwell time is what removes the need for scrubbing.
-
Spray limescale remover on shower glass, tap outlets, and any chalky white deposits.
-
Apply bathroom cleaner to the bath, shower tray, tiles in the wet zone, and the basin bowl.
-
Add toilet cleaner to the bowl and let it sit.
Professional tip: do not mix products. If you use a limescale remover and a bleach-based product, keep them separate and rinse between steps. Mixing can create dangerous fumes.
Step 3: Start high and dry, then work toward wet areas (3–5 minutes)
-
Dust vents, light pulls, and ledges with a dry microfibre. Dust becomes sludge if you hit it with spray first.
-
Wipe mirrors with a lightly damp cloth then buff dry. This avoids streaks and removes hairspray residue.
-
Wipe cabinet fronts and handles, because these are high-touch points that pick up oils.


Step 4: Clean the shower and bath fast (4–6 minutes)
-
Apply product on tiles and shower glass with a soft pad. You are lifting softened film, not grinding.
-
Focus on tap bases, grout edges, and silicone lines where soap residue builds.
-
Rinse thoroughly. Any residue left behind becomes a new film that attracts dirt.
DIY speed upgrade: keep a squeegee in the shower and use it for 30 seconds after each shower. It dramatically reduces weekly build-up on glass and tiles.
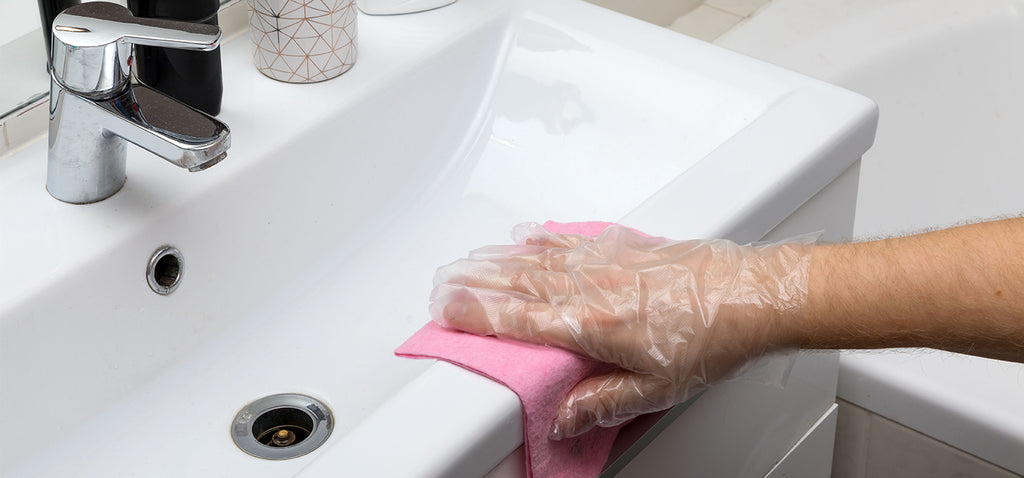
Step 5: Basin and taps with a finish-safe method (2–4 minutes)
-
Wipe the basin from rim to waste so you push residue into the bowl rather than onto the counter.
-
Detail around the tap base, overflow, and waste flange.
-
Rinse and dry. Drying taps is the single best way to reduce water spots and limescale rings.
Expert insight: most dull tap finishes are not age-related. They are cleaning damage. If you want taps to look new longer, avoid abrasive pads and harsh chemicals, especially on matt black, brushed metallics, and coated finishes.
Step 6: Toilet last, then touch points (2–3 minutes)
-
Brush the bowl after the cleaner has had time to work, then flush.
-
Wipe the seat, lid, flush button, and outer surfaces with an appropriate disinfectant.
-
Wipe the toilet base where dust and spray settle.
Step 7: Floor in one pass (2–3 minutes)
-
Sweep or dry-wipe hair first, especially around the toilet and behind the door.
-
Mop with a lightly damp approach. Over-wetting can push dirt into grout and around silicone edges.
Professional tip: start at the far corner and work toward the exit so you do not trap yourself.
DIY tips that make every clean faster
Speed comes from reducing the causes of build-up, not from better scrubbing.
Control limescale at the source
-
If you live in a hard water area, the fastest bathroom is one with fewer water deposits. Wiping dry is powerful, but so is upgrading to easy-clean glass, coated finishes that tolerate routine wipe-downs, and taps with accessible aerators that can be cleaned or replaced.
-
Keep a small brush for tap outlets. When limescale builds on aerators, it changes flow and increases spray, making the sink area messier.
Stop soap scum from bonding
Soap scum forms when soap mixes with minerals and oils. The fix is consistent rinse and dry.
-
Use a daily shower spray if you want minimal weekly effort, but choose a formulation that is safe for your tile and metal finishes.
-
Avoid leaving bottles and bars sitting in water. Standing water increases residue and creates rings that are slow to remove.
Keep grout looking clean without aggressive scrubbing
-
Grout darkening is often a film issue rather than deep staining. Regular gentle cleaning is better than occasional harsh attack.
-
If you are renovating, choose larger tiles where appropriate. Fewer grout lines means less maintenance.
Maintain silicone lines properly
Silicone fails faster when it is constantly wet and coated in residue.
-
Improve ventilation and dry wet zones. This reduces mould risk and helps sealant last longer.
-
Do not use harsh abrasive cleaning on silicone edges. It can roughen surfaces and encourage more growth.
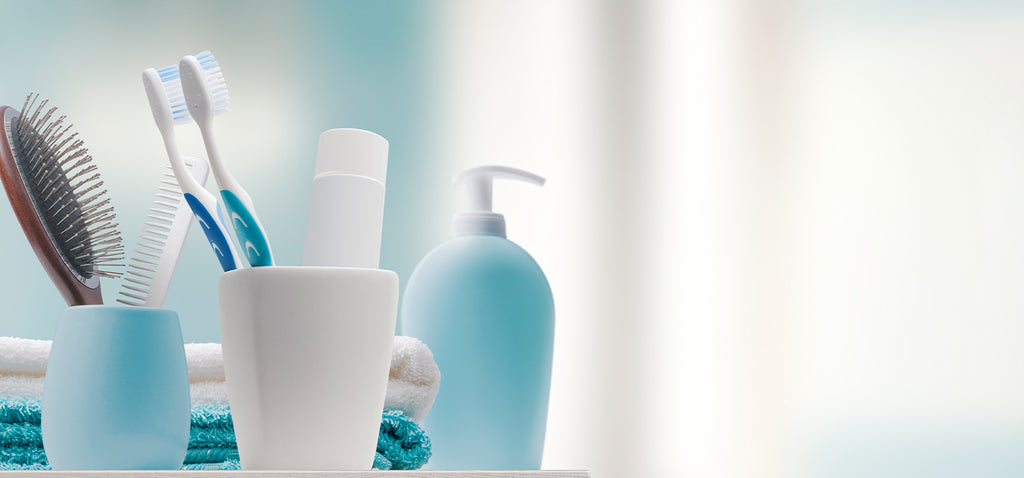
Upgrade your accessories for easier hygiene
Small choices change cleaning time.
-
Wall-mounted accessories reduce clutter and make wiping surfaces faster.
-
A concealed cistern with a flush plate can simplify floor cleaning around the toilet area, especially with wall-hung designs.
-
A towel radiator positioned correctly reduces damp towel buildup, which can contribute to odours and humidity.
The most common mistakes that slow people down
-
Spraying everything and immediately scrubbing, instead of letting the product dwell.
-
Using one cleaner for all soils, then wondering why limescale or soap film never fully clears.
-
Overusing harsh chemicals, which can damage finishes and make surfaces harder to clean later.
-
Skipping drying. Leaving water to evaporate is what creates the next week’s limescale and streaking.
-
Cleaning the floor first, then walking on it while cleaning everything else.
A 2-minute daily reset that prevents big weekly cleans
If you want your weekly clean to take under 15 minutes, this matters more than any product.
-
Squeegee shower glass and tiles after use.
-
Quick wipe of taps and basin edge.
-
Hang towels properly so they dry and do not trap moisture in folds.
- Run extraction for a short period after showering to remove humidity.
Conclusion
Cleaning a bathroom fast is a system: the right tools ready to go, the correct chemistry for limescale and soap film, and a sequence that uses dwell time instead of elbow grease. The biggest DIY wins come from reducing water residue through drying, improving ventilation, and choosing fixtures and accessories that are easier to wipe down. Follow the workflow above and you will get a bathroom that looks consistently clean with far less effort, while also protecting finishes so your taps, glass, and tiles stay premium for longer.