


![Rectangular Brass Ceiling Shower Arm with Chrome Finish, Projection 300mm [42016]](http://tapron.co.uk/cdn/shop/products/42016_1_1170x.jpg?v=1544115751)


Easy Steps on How to Install a Wall Mounted Shower Arm

Table Of Contents:
-
Introduction
-
Gather Your Tools and Materials
-
Turn Off the Water Supply
-
Remove the Old Shower Arm
-
Clean the Threads
-
Apply Teflon Tape
-
Install the New Shower Arm
-
Attach the Showerhead
-
Turn On the Water and Test
-
Conclusion
Introduction
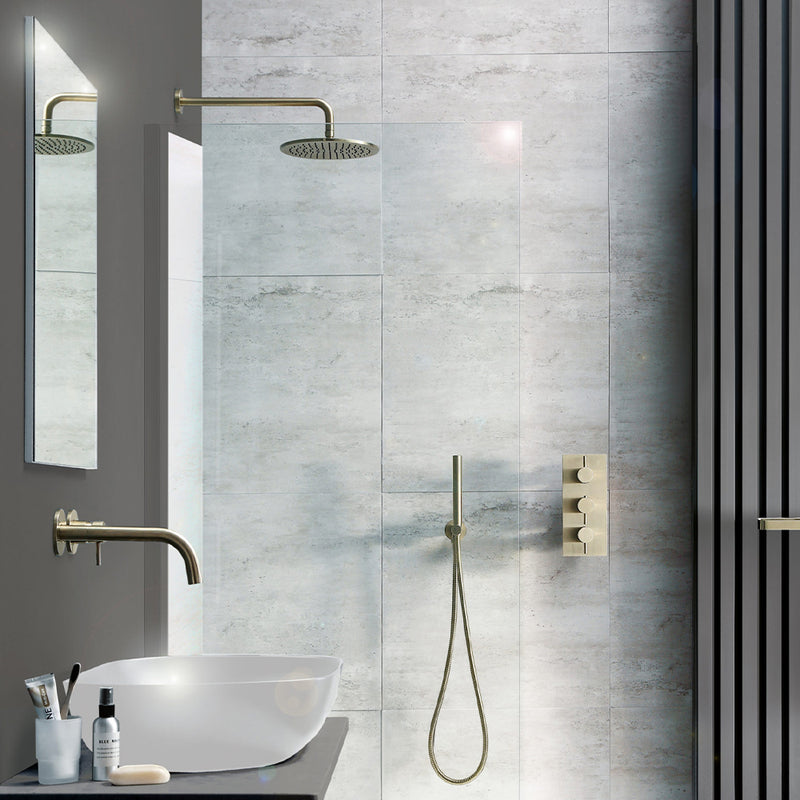
Upgrading your bathroom with a new shower arm can significantly enhance your showering experience. A wall-mounted shower arm not only adds to the aesthetic appeal of your bathroom but also allows you to customize the height and angle of your showerhead for a more luxurious shower.
Whether you're undertaking a full bathroom renovation or simply refreshing your shower setup, installing a wall-mounted shower arm is a straightforward process that you can do yourself. Here’s a step-by-step guide from Tapron UK to help you through the installation process, complementing our comprehensive collection of wall and ceiling shower arms.
Step 1: Gather Your Tools and Materials
Before you start, ensure you have all the necessary tools and materials on hand:
- A new wall-mounted shower arm from Tapron UK
- Adjustable wrenches
- Teflon tape (plumber's tape)
- A clean cloth
- A bucket or towel to catch any residual water
Step 2: Turn Off the Water Supply
Safety first! Ensure the water supply to your shower is turned off to prevent any accidental water spillage during the installation process. This might involve shutting off the main water supply to your home.
Step 3: Remove the Old Shower Arm
If replacing an existing shower arm, use an adjustable wrench to unscrew it from the wall connection. Turn the shower arm counter-clockwise to loosen it. You may need to hold the fitting on the wall steady while you do this. Place a bucket or towel underneath to catch any water that might drip out.
Step 4: Clean the Threads
Once the old shower arm is removed, use a clean cloth to wipe down the threads on the wall’s water supply pipe. This will ensure a clean surface for installing your new shower arm.
Step 5: Apply Teflon Tape
Wrap Teflon tape around the threads of the water supply pipe in a clockwise direction. This helps to create a watertight seal and prevents leaks. Generally, wrapping the tape around the threads three to four times is sufficient.

Step 6: Install the New Shower Arm
Carefully screw in your new wall-mounted shower arm by hand at first to ensure it is not cross-threaded. Once it's correctly aligned and started, use an adjustable wrench to tighten it securely. Remember to wrap a cloth around the arm when tightening to protect its finish from any tool marks.
Step 7: Attach the Showerhead
Screw your showerhead onto the new shower arm. It's usually best to hand-tighten the showerhead to avoid damaging it. Once again, you can use Teflon tape on the shower arm threads before attaching the showerhead to ensure a leak-proof installation.
Step 8: Turn On the Water and Test
With the new shower arm and head installed, turn the water supply back on and test your installation for any leaks. Ensure the showerhead is directing water flow correctly and adjust as necessary.
Conclusion
Installing a wall-mounted shower arm is a simple yet effective way to upgrade your shower experience. With the right tools, a bit of patience, and your choice of high-quality shower arms from Tapron UK, you can achieve a professional-looking result that enhances the functionality and style of your bathroom. Visit our collection today to find the perfect shower arm for your space and enjoy the satisfaction of a successful DIY bathroom project.