How to Change a Deck-Mounted Tap
Introduction:
Are you tired of that old, worn-out tap in your bathroom or kitchen? Maybe it's time for a change. In this DIY guide, we'll walk you through the step-by-step process of changing a deck-mounted tap. Whether you're upgrading for aesthetic reasons or fixing a leaky faucet, this project can be a satisfying and cost-effective way to improve your bathroom or kitchen.
Step 1: Gather Your Tools and Materials:
Before you start, make sure you have all the necessary tools and materials on hand. You'll typically need an adjustable wrench, a screwdriver, plumber's tape, a bucket or towel to catch water, and, of course, the new deck-mounted tap. Ensure the water supply is turned off to avoid any mess or accidents.
Step 2: Remove the Old Tap:
Start by turning off the water supply valves located under the sink. Then, open the old tap to relieve any remaining water pressure. Using your adjustable wrench, disconnect the water supply lines from the old tap. Next, remove the mounting nuts that secure the tap in place. With these components detached, you can now lift out the old tap.
Step 3: Clean the Area:
Once the old tap is removed, take the opportunity to clean the mounting surface thoroughly. Remove any residue or old plumber's tape, ensuring a clean and smooth base for the new tap installation.
Step 4: Install the New Tap:
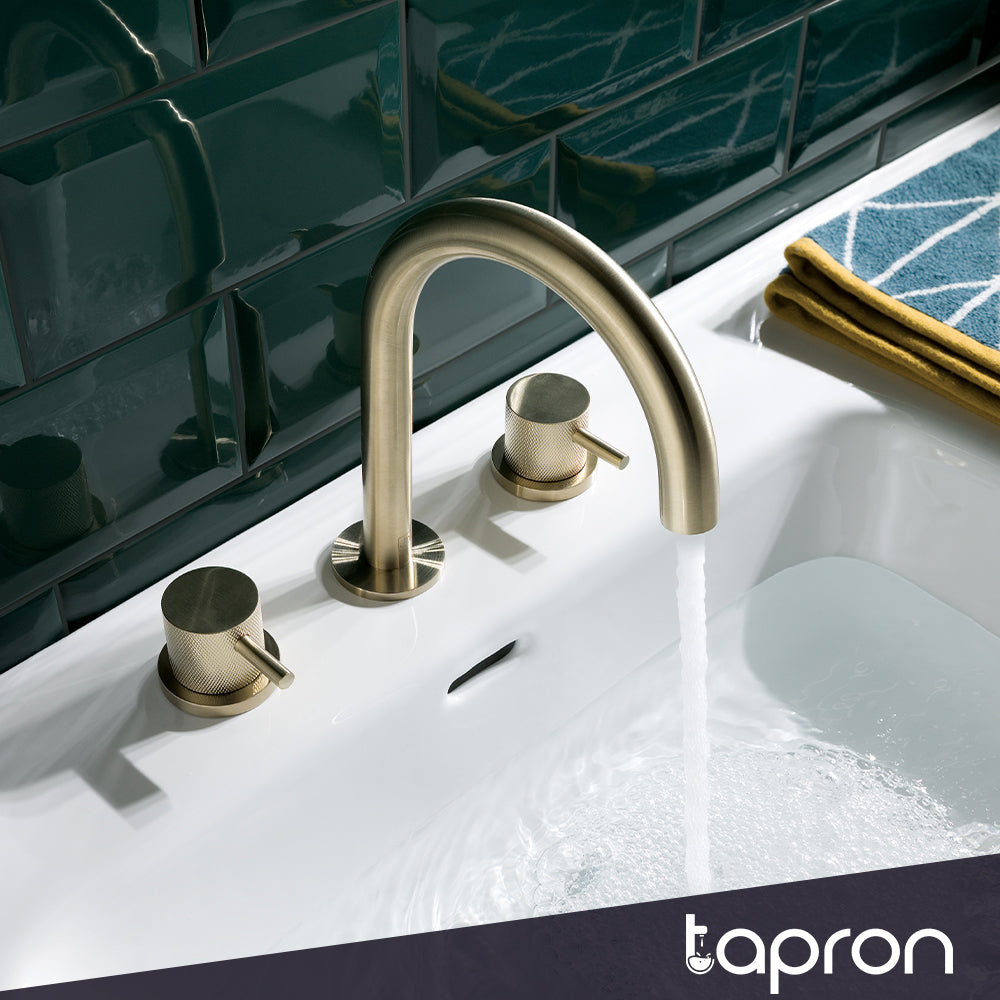
Carefully position the new deck-mounted tap in place. Make sure it aligns with the mounting holes on your sink or countertop. Slide the provided mounting nuts onto the tap's threaded rods and secure them underneath the sink. Use your adjustable wrench to tighten the nuts, ensuring a snug fit.
Step 5: Connect Water Supply Lines:
Reattach the water supply lines to the corresponding hot and cold inlets on your new tap. Apply plumber's tape to the threads of the water supply line connections to prevent leaks. Tighten the connections with your adjustable wrench, taking care not to overtighten.
Step 6: Test for Leaks:
Once everything is securely connected, turn on the water supply valves slowly. Check for any leaks around the water supply line connections and the base of the new tap. If you notice any leaks, tighten the connections as needed.
Step 7: Reassemble and Finish:
With no leaks detected, turn off the tap and reassemble any components, such as handles or decorative caps, as per the manufacturer's instructions. Your new deck-mounted tap should now be securely in place and ready for use.
Conclusion:
Changing a deck-mounted tap can be a satisfying DIY project that can refresh the look and functionality of your bathroom or kitchen. By following this step-by-step guide, you can confidently replace your old tap with a new one, saving both time and money compared to hiring a professional plumber. Enjoy your upgraded fixture and the improved aesthetics it brings to your space!
Explore our other related blog posts :


![Traditional Pinch 3 hole Deck Mounted Wash Basin Tap with Antique Gold Finish and Internally Fitted with Leak-Proof Technology, LP 0.2[98193G]](http://tapron.co.uk/cdn/shop/products/Traditional-Chester-Pinch-3-hole-Deck-Mounted-Wash-Basin-Tap-with-Antique-Gold-Finish-and-Internally-Fitted-with-Lea_165x.jpg?v=1624321150)


Leave a comment
All blog comments are checked prior to publishing