


![Cool Touch Thermostatic Bar Valve [2081]](http://tapron.co.uk/cdn/shop/products/2081_1_1270x.jpg?v=1546635095)


Expert Guide: How to Fit a Bar Shower Valve

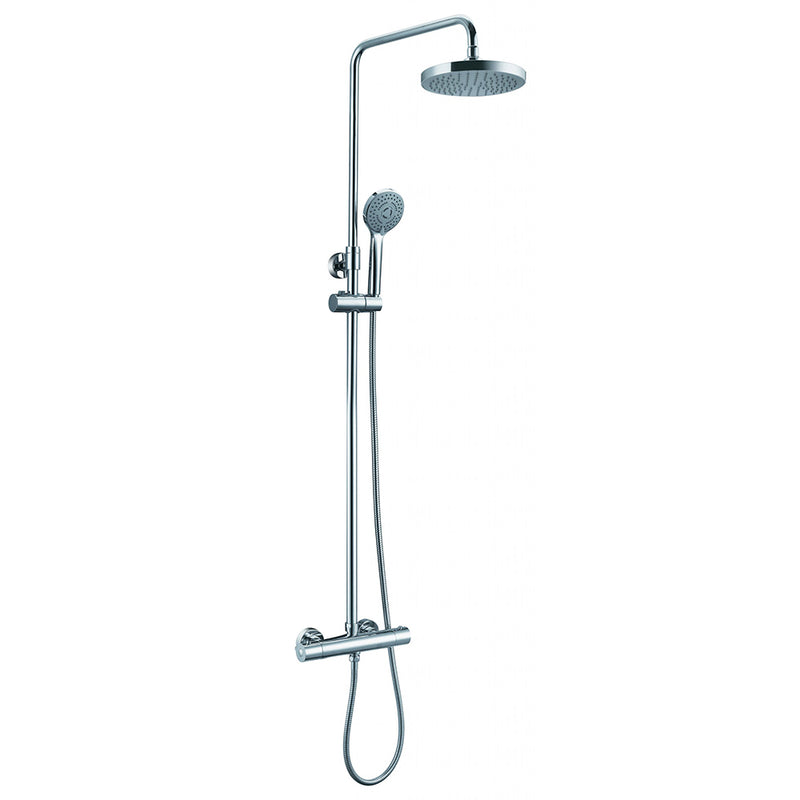
Upgrading your bathroom with a new bar shower valve can dramatically improve your showering experience.
Whether you're a DIY enthusiast or a professional looking to brush up on your skills, this guide will walk you through the process of fitting a bar shower valve, step by step.
At Tapron UK, we offer a wide selection of bar shower valves that cater to various styles and requirements. Let's get started on how to fit one into your bathroom.
What You’ll Need:
- Adjustable wrenches
- Pipe cutter
- Spirit level
- Drill and bits (suitable for your wall type)
- Wall plugs and screws (usually provided with the valve)
- PTFE tape (Thread sealing tape)
- Your chosen Tapron UK bar shower valve
Step 1: Preparation
Before beginning, ensure the water supply to your bathroom is turned off. This is crucial to avoid any unexpected flow of during installation. Open your chosen Tapron UK bar shower valve package and confirm that all parts are included and undamaged.
Step 2: Measure and Mark
Determine the location for your bar shower valve. Standard practice is to install the valve at a height of around 110 cm from the shower floor, but this can vary based on personal preference or specific user needs. Use the spirit level to mark the positions for the water inlet pipes on the wall, ensuring they align with the distance between the inlets on your bar valve (usually 150 mm centre-to-centre).
Step 3: Prepare the Water Inlets
Cut the water inlet pipes to the required length, ensuring they are long enough to protrude slightly from the wall. Clean the ends of the pipes to remove any burrs or debris. Apply PTFE tape around the threads of the water inlets to ensure a watertight seal.
Step 4: Secure the Mounting Plate
Some bar shower valves come with a mounting plate that helps support the valve and secure it to the wall. If yours includes one, drill holes at the marked positions, insert wall plugs, and screw the mounting plate into place. Ensure it's level before tightening the screws.
Step 5: Attach the Bar Shower Valve
Carefully align the bar shower valve with the water inlet pipes protruding from the wall. Use adjustable wrenches to connect the valve to the pipes, taking care not to over-tighten and damage the valve or pipes.
Step 6: Check for Leaks
Turn the water supply back on and check for any leaks around the connections. If you notice any drips, tighten the connections slightly more, but be cautious not to apply too much force.
Step 7: Final Touches
Once you're satisfied there are no leaks, finish any wall work necessary around the valve, such as sealing or tiling. Attach any covers or plates that come with your valve to conceal the fittings for a neat finish.
Step 8: Enjoy Your New Shower
With the bar shower valve securely fitted, you're ready to enjoy your new shower experience. Adjust the temperature and flow to your liking and revel in the upgrade to your bathroom.
Conclusion
Fitting a bar shower valve can be a straightforward process with the right tools and preparation. By following these steps, you can successfully install a stylish and functional bar shower valve from Tapron UK's selection. Not only does this enhance your shower experience, but it also adds a modern touch to your bathroom. For any questions or to explore our extensive range of bar shower valves, visit our collection today.